
Introduction
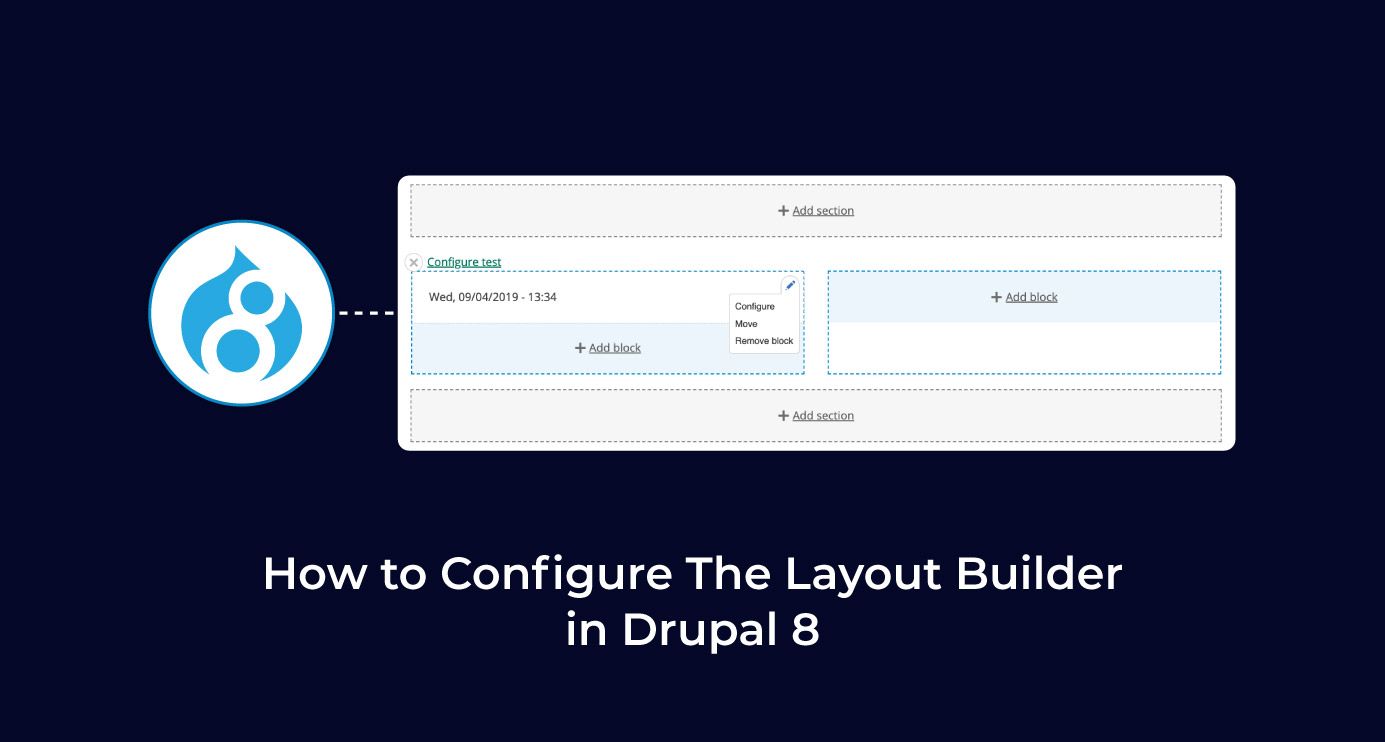
The layout builder module grants an ability to site builders to create visual layouts for displaying any content easily. It also provides the ability to drag and drop site-wide blocks and content fields into regions within a given layout. Site builders can customize the layout as per the need in a quick and simple way.
Layout Builder also gives you a preview of any changes before saving the page. Thus, it’s easier to build a layout since you won´t have to save the page and then see how it appears on the FrontEnd side.
Step by Step procedure to Configure The Layout Builder
Let's see how to configure and use it on our site:
Enable The Module
The Layout Builder module is now available in Drupal Core from version 8.5, where no additional module is required to configure the layout builder.
To enable this module, go to the Extend menu and enable it, or you can also enable it by Drush command.
Note: The Layout Discovery module will be enabled as a requirement, so click Continue.
Launching Layout Builder
After enabling the required module, next, we need to enable the layout builder in the required content type. Now let´s use the layout builder module on the Article content type.
1. Go to Structure, Content types and then click on “Manage display.”
2. At the bottom, you will see “Layout options”, here check “Use Layout Builder”, and then click on Save.
Note: Here, we have used the full content display, but we can use layout builder to any display as per requirement.
3. Using the above option, we can create a layout of any entity, so each entity of a given type will have the same layout. However, we can overwrite individual entities' layout from the default layout set for that entity type. This can be done via the additional option.
This option gives us a chance to change the appearance of only one entity of a given entity type without disturbing the default layout of other entities.
Manage Layout
1. Once you enable layout builder on view mode, you will see “Manage layout.”
2. Click on “Manage layout”, you will be redirected to the interface where you configure the layout of the given entity type by addition of various different sections.
3. Once you click on the section, you can choose the column widths. Here we have clicked on “Two columns”. You can leave it at “50%/50%”, but you can configure any width as per requirement or you can give “Administrative label” if you want.
Once all setting is done, click on “Add section”
Likewise, you can configure any sections.
4. To add blocks into the section, click on “Add Block” and then the “Choose a block” option will be visible on the right side.
5. You can choose any block or filter out by block name.
Let's add the “Authored by” block. You can configure this block as per requirement and then click on “Add block”
To move a block from one region to another you can click on them and simply drag them to the required region.
Once a section or a block is added, click on “Save layout”
6. To manage the layout of a single entity, we have checked the option “Allow each content item to have its layout customized.” (mention above in Image4 under 'LAYOUT OPTIONS')
Then go to the entity view page, and you will notice the layout tab button.
Custom Layouts
Layout Builder provides some predefined layouts. If we need any additional layout to fulfill our requirement other than predefine layouts, a custom layout comes into the picture. Follow the below steps to create a custom layout:
- Create layout class inside src/Plugin/Layout/ which extends LayoutDefault class
- Create a template file for the layout
- Create a CSS file for the layout
Pros And Cons Of The Layout Builder
Pros
Cons
Ease of deployment since the module is in the core, no additional configuration is needed For a large website, the loading time may increase to load all available elements Convenient interface with drag & drop functionality It can be tricky for a non-technical person to add new layouts. Currently, to add a new layout we create .yml files which should be more UI-focused Custom Layout possible for all entities It can be difficult to access section name in twig as names are suffixed with UUID
Addition Modules
There are many additional modules that we can use with layout builder but the most commonly used ones as:
1. Layout Builder Restrictions
You can also refer to this documentation for additional modules used with the layout builder.
This is all about the layout builder. Try it out, it's a great and useful module.
Note: For testing layout builder in detail, you can use the “umami” profile.
You can enable this profile while installing Drupal. This profile is great to start with a layout builder being already installed with nice theming and content.
Bring this dispatch into a working session - one page in, scoping memo out.
Brief Foyer