 We respect your privacy. Your information is safe.
Introduction
Custom marketing integrations are explicitly built to suit an organization's unique needs. These integrations can be used with Mautic, an open-source marketing automation software, to extend its capabilities.
Find out how the Integration Bundle can be used to extend Mautic and how to register a simple plugin here.
What Is Mautic?
Mautic is the only OSS marketing tool available in the digital marketing space. It helps organizations gather essential contact information, create campaigns, and produce reports on results. Mautic helps businesses integrate other marketing tools to develop a one-stop lead generator that provides several other benefits.
Mautic And Its Plugins
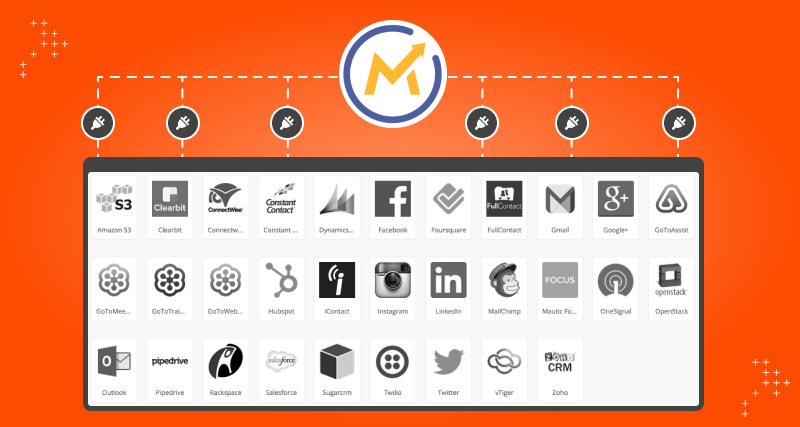
A plugin is a software component that adds a specific feature to an existing computer program. Programs enable customization by supporting plugins. Mautic has built-in plugins to integrate with platforms like Hubspot, SalesForce, Instagram, LinkedIn, and Gmail. These plugins synchronize the data to and from Mautic.
The Integration Bundle
Open-source technologies usually come with essential yet generalized solutions. This is why if customization is required, it must be done by building a custom plugin to support a specific business need. The process to enable a plugin also differs from one technology to another.
Regarding Mautic (3.x), the Integration Bundle defines the rulesets to add custom plugins to support integrations. The Integration Bundle enables developers to use the service tags, which is a way to tell Mautic that a service should be registered in a particular manner.
When preparing for the development of any custom plugin in Mautic, it is essential to:
- Tell Mautic about the custom plugin
- Type of authentication to pull/push data to Integration's API
- Fields to map
- The direction of sync (pull, push, and both)
- The point award system
- The segment and needed filters
How To Register A Custom Plugin With Mautic
Follow the steps mentioned below to register a custom plugin with Mautic.
Step One
Tell Mautic the name, description, and authors of the new custom integration plugin. For example, let's assume you wish to create a directory, HelloWorldBundle, in the plugins directory. This directory will host all the files that cater to the custom logic related to the plugin. Start by:
- Creating a HelloWorldBundle.php file in the newly-created directory. Add the following code listing.
<?php
namespace MauticPlugin\HelloWorldBundle;
use Mautic\IntegrationsBundle\Bundle\AbstractPluginBundle;
class HelloWorldBundle extends AbstractPluginBundle
{
}
The class HelloWorldBundle extends the AbstractPluginBundle, which helps register the plugin with Symfony. Every plugin should have <PluginName>Bundle.php file. - Ensure plugin configuration. Mautic uses the Config/config.php file to read these plugin configurations. The config.php file returns the simple associative array with self-explanatory keys. Create a config.php with the following code snippet.
<?php
return [
'name' => 'Hello World',
'description' => 'Enables integration for Hello World.',
'version' => '1.0.0',
'author' => 'Axelerant Inc',
// ..
];
The above snippet is the general section of config.php, and it defines what should be listed.
Step Two
All integrations, whether it uses the basic, config, auth, or sync interfaces, must have a class that registers itself with Mautic. This step will register the custom plugin as integration.
Create classes that will tag with the service tags of the Integration Bundle. You must create service classes to inform Mautic that this integration is ready to be listed.
Here we will create the following class in the Integration sub-directory.
- HelloWorldIntegration.php
- ConfigSupport.php
HelloWorldIntegration
The class HelloWorldIntegration enables a developer to provide a unique name, icon, and display name for the plugin. The class should extend \Mautic\IntegrationsBundle\IntegrationBasicIntegration and should implement \Mautic\IntegrationsBundle\Integration\Interfaces\BasicInterface. This helps define the getName(), getDisplayName(), and getIcon() methods. And it uses ConfigurationTrait to store the configuration-related changes.
Add the image of 125x125 resolution to the Asset/img directory to have the plugin's icon. The filename should be the plugin's short name. In this case, it is helloworld.png. The directory Assets hold the style sheets, javascript, and image files.
The following code is listed for the class.
|
<?php |
ConfigSupport
The class ConfigSupport tells the IntegrationsBundle that this integration has configuration options. The class must implement Mautic\IntegrationsBundle\Integration\Interfaces\ConfigFormInterface to have a modal configuration form for the plugin and Mautic\IntegrationsBundle\Integration\Interfaces\ConfigFormAuthInterface to have Enable/Auth tab for the plugin. These interfaces provide configuration options for authenticating with the third-party service.
|
<?php |
In this class, the method getAuthConfigFormName() returns the name of the configuration form. In this case, it is the class name ConfigAuthType::class, which returns the configuration form. The Class has the following definition.
|
<?php |
Step Three
This is a critical step as the developer needs to let Mautic know which classes are the services and tag them with designated service tags. The following is a part of the config.php file.
|
<?php |
The new additions to the config.php are the services. Services are PHP objects stored in the service container and used throughout Mautic development. In the services section of config.php, the integrations key is used to represent classes that enable the integrations with the help of service tags.
In this case, the HelloWorldIntegration class is tagged with 'mautic.integration' and 'mautic.basic_integration'. These tags help Mautic know via Integration Bundles that this is the integration plugin.
The ConfigSupport class is tagged with 'mautic.config_integration'. This tag enables the custom plugin to integrate with the Configuration UI. Apart from integration services, there are also other types of services, including:
- Commands: This is used to define the console command classes
- Events: This defines event subscriber classes that listen to events dispatched throughout Mautic and auto-tagged with 'kernel.event_subscriber.'
- Forms: This defines custom form types and auto-tagged with 'form.type.'
- Helpers: This represents custom template helpers. These services are auto-tagged with 'templating.helper.'
- Others: This defines all other custom services.
- Sync: This establishes the sync-related services.
Step Four
The plugin directory should have the following structure now.
|
HelloWorldBundle |
Step Five
It's time to load the plugin by following the steps given below.
- Browse the installed Mautic
- Login with admin credentials
- Click on the top right-corner gear icon
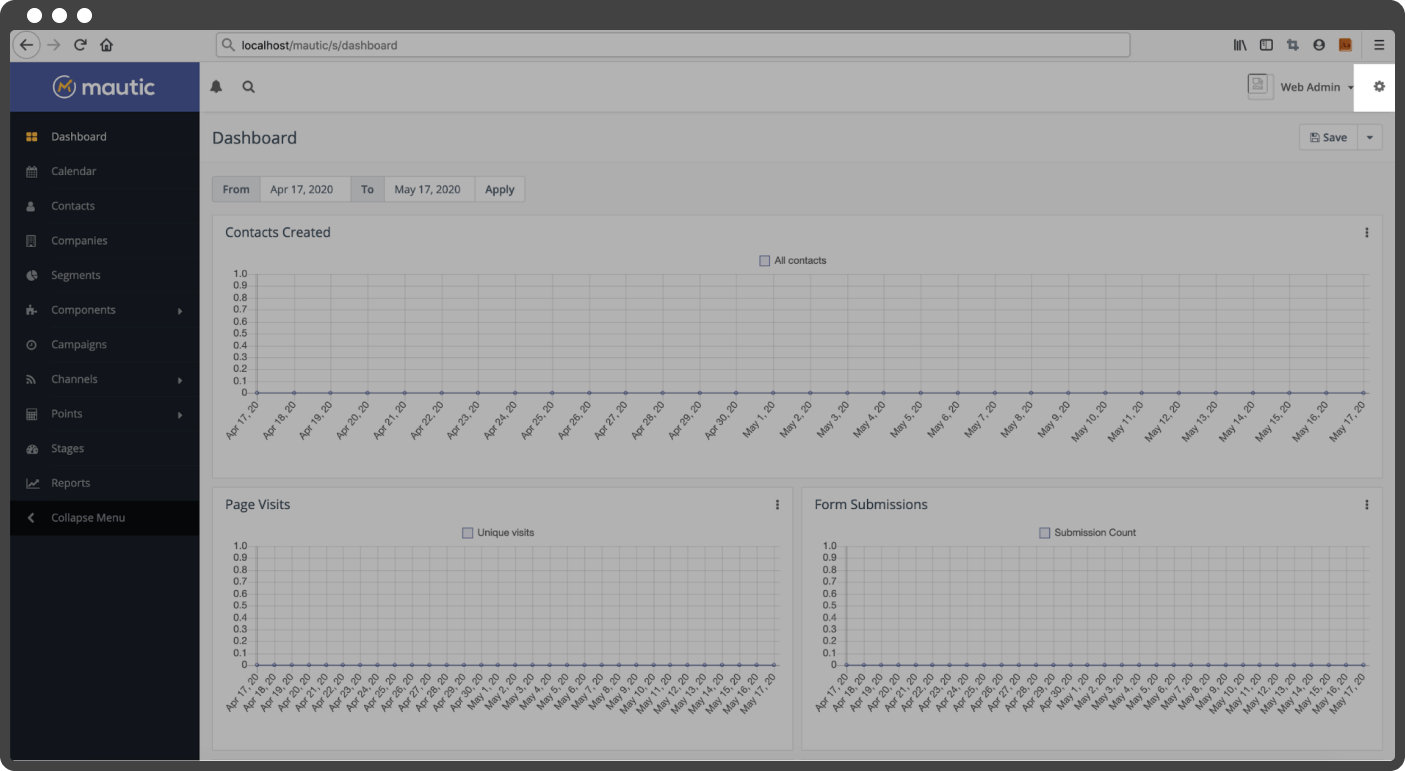
- Click on the Plugins menu link from the expanded block
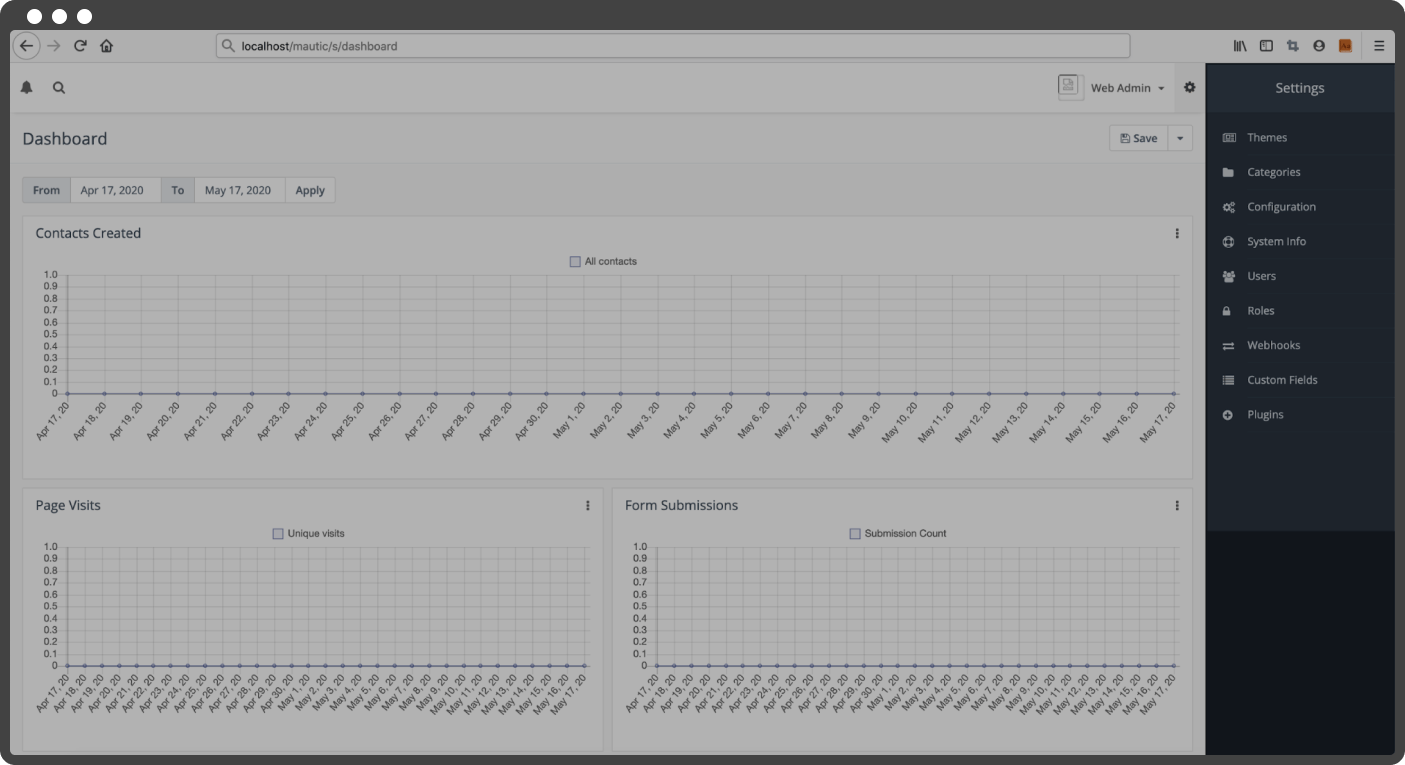
- Navigate to the list of available plugins
- Click on the top right button Install/Upgrade Plugins to install the plugin. It will refresh the plugin list and add the HelloWorld plugin to the list
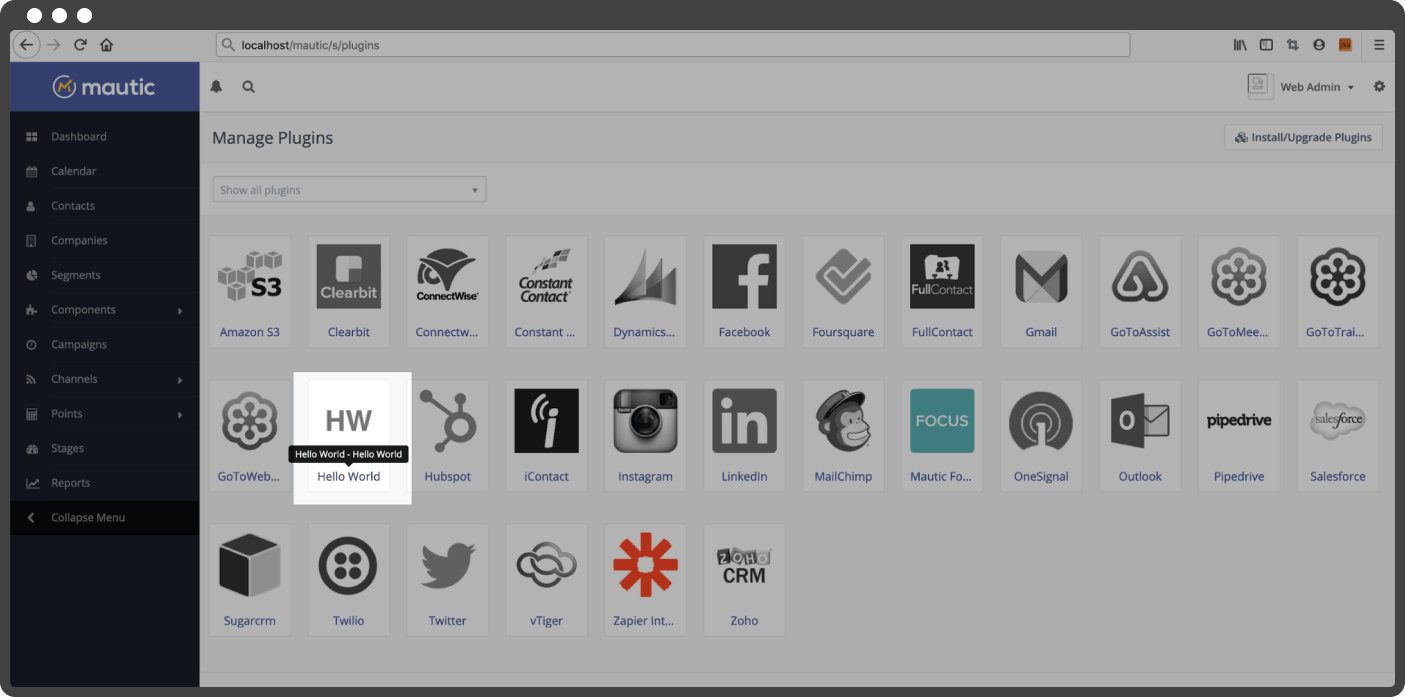
- To enable the plugin, click on the icon, and the configuration modal will appear. Select 'Yes,' and then click on the 'Save & Close' button
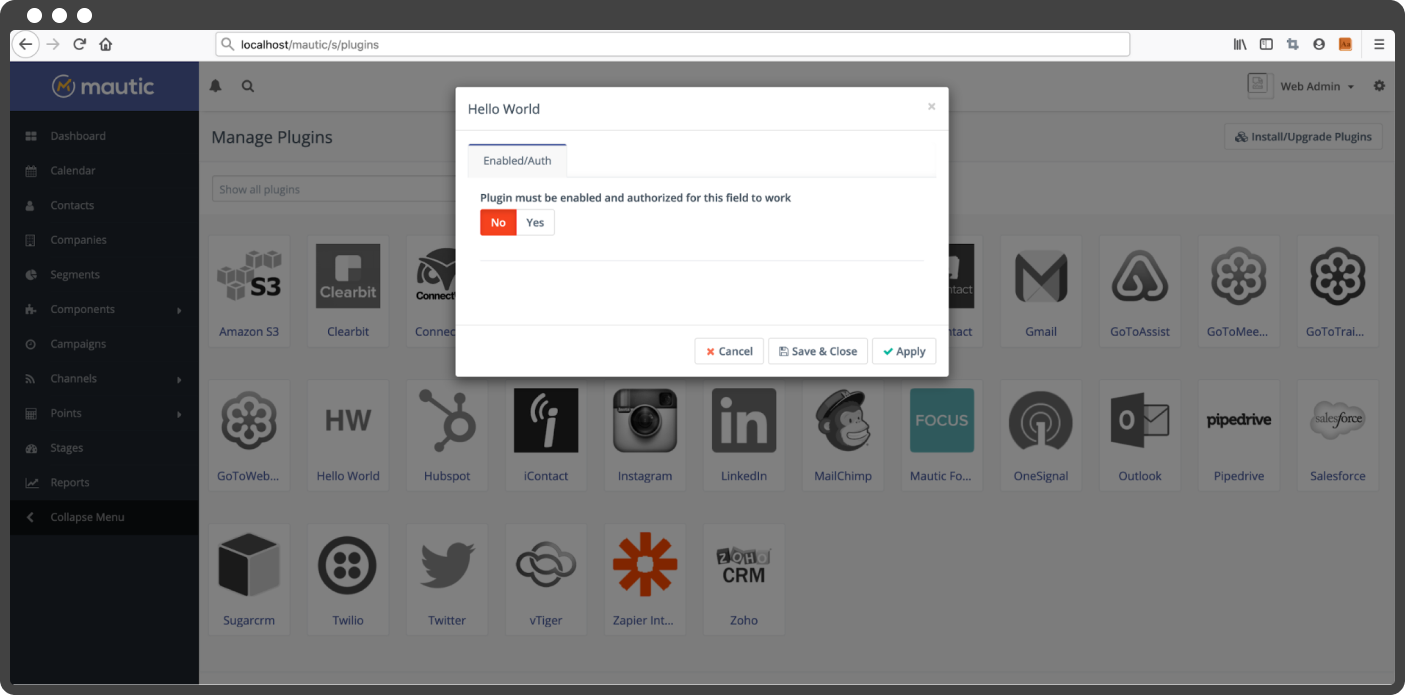
- Congrats, you have successfully installed and enabled the plugin.
Some Tips
If you encounter any problems during the registration, refer to the tips.
- Clear the cache every time you make changes to config.php
- The cache folder path is <mautic-root>/var/cache/prod
- The logs are located in <mautic-root>/var/logs
The Conclusion
At last, you have successfully registered and installed a custom HelloWorld Mautic plugin. There is a lot more that you can learn about creating custom integration plugins, so keep exploring.

Mohit Aghera, Axelerant Alumni


Leave us a comment